Sunday, December 31, 2006

Dress Ornaments Tutorial

Materials:
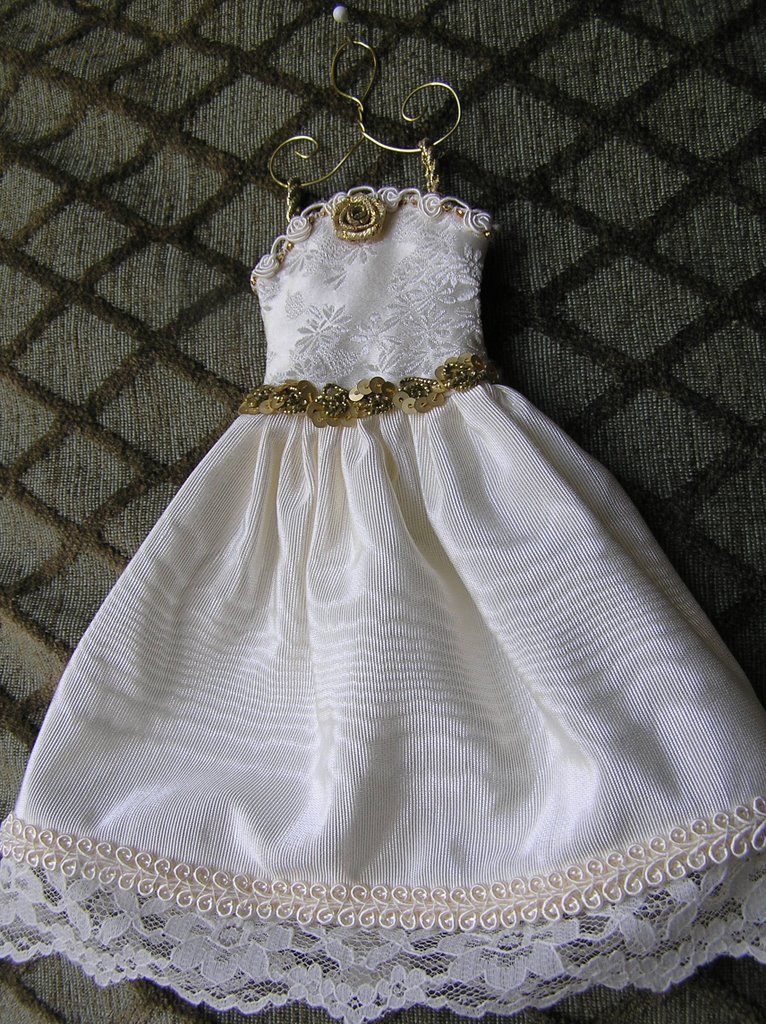
Fancy Fabrics for Bodice & Skirt
Scrap of Cotton closely matching color of Bodice fabric
Lace overlay for skirt (optional)
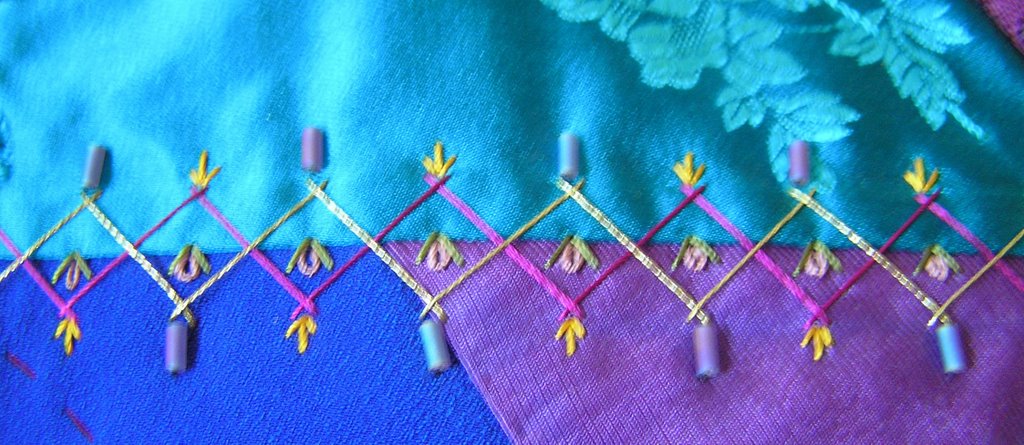
Trim for waist, skirt hem and bodice top
ribbon for straps
~20g wire for hanger
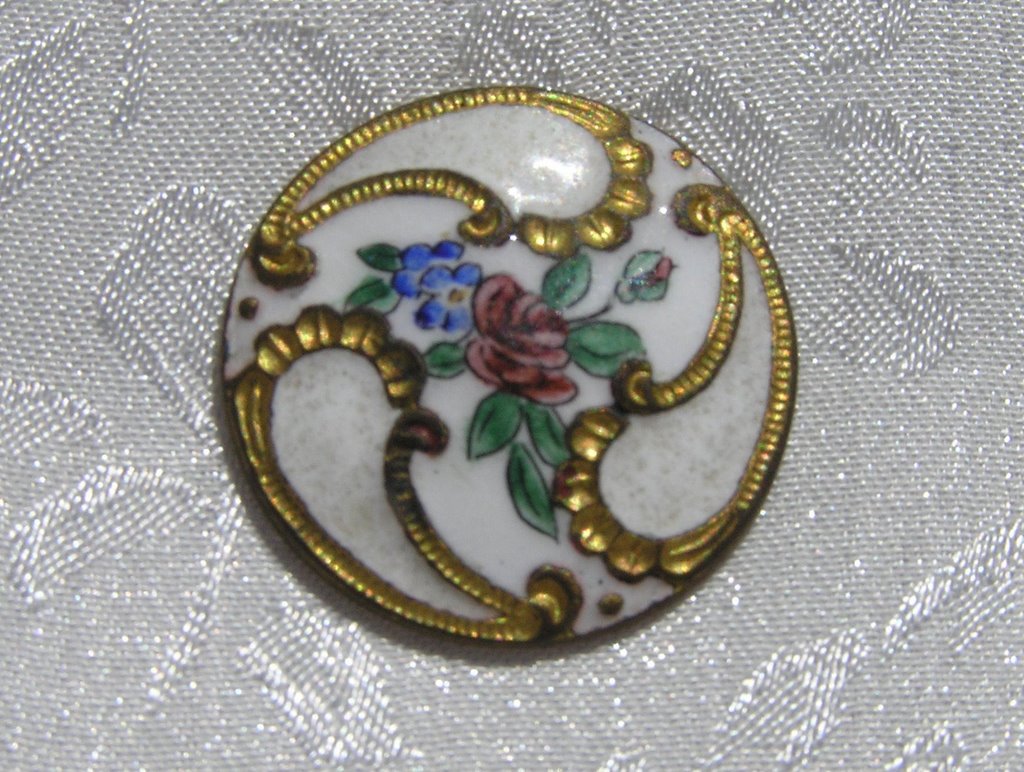
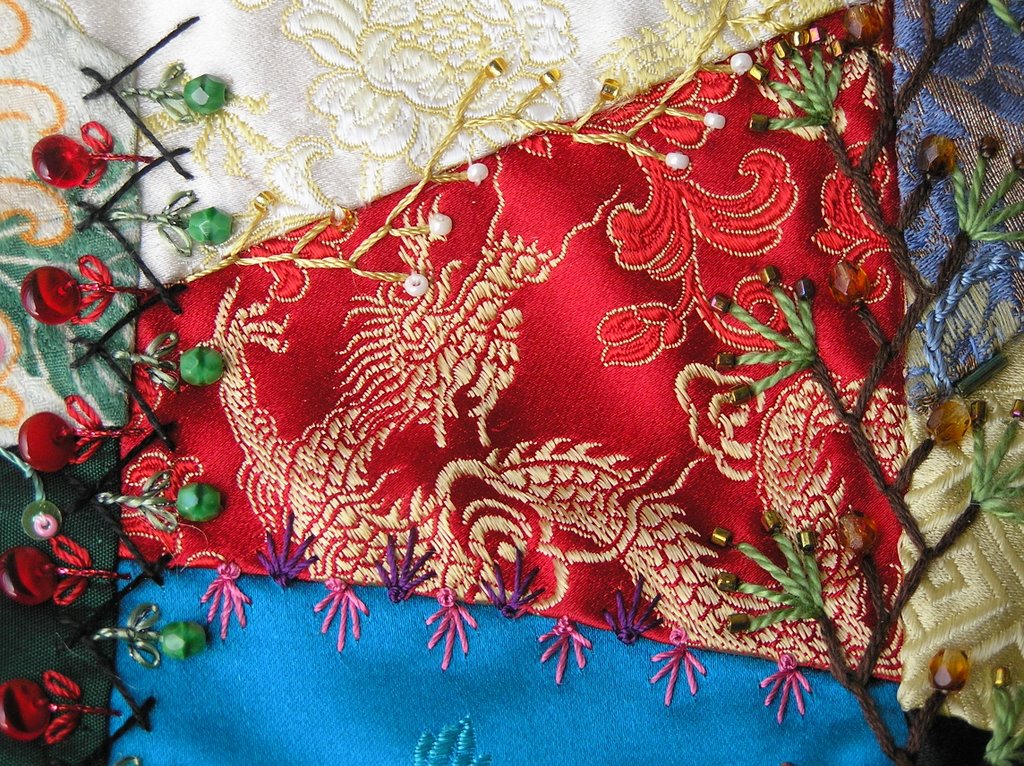
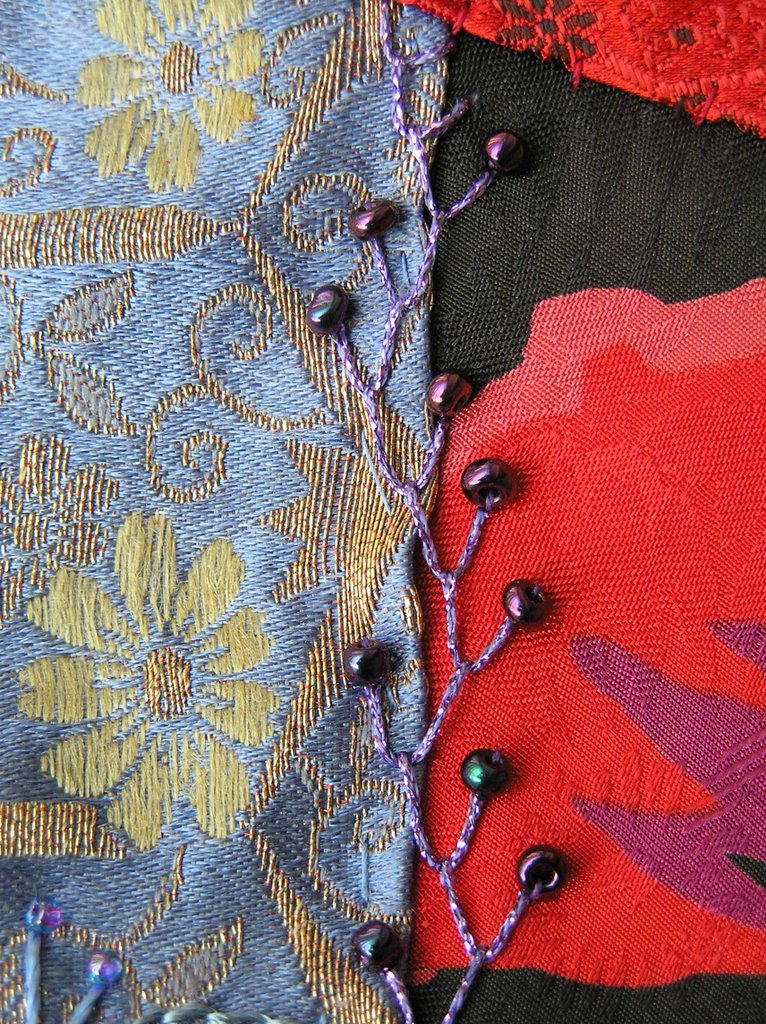
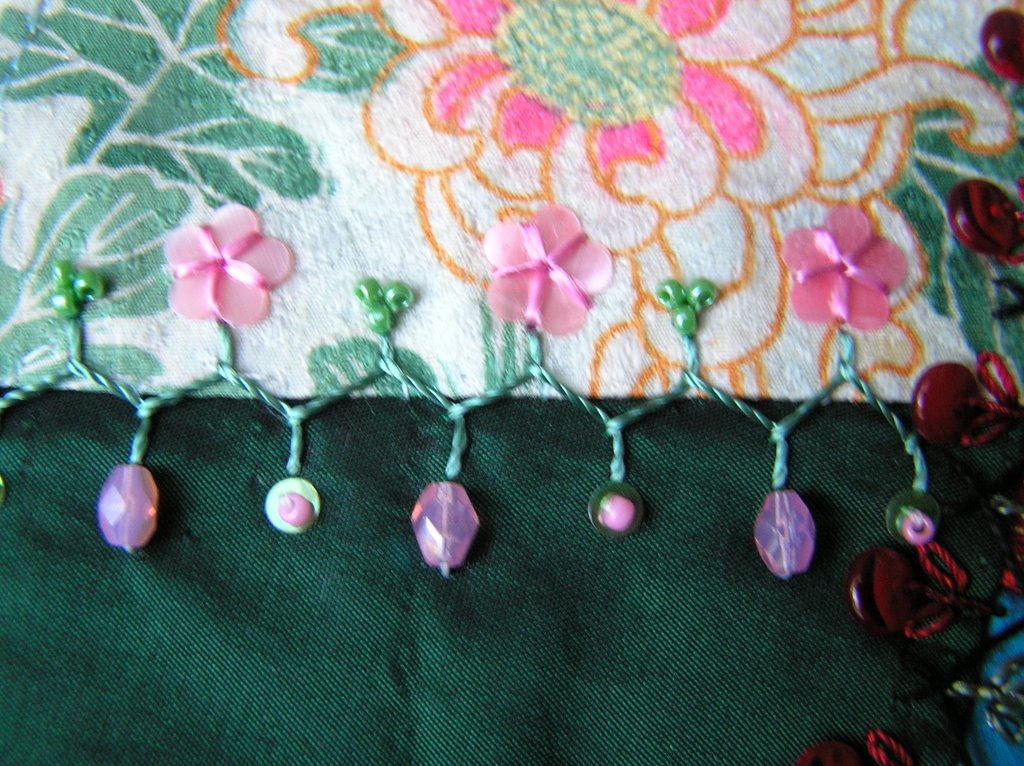
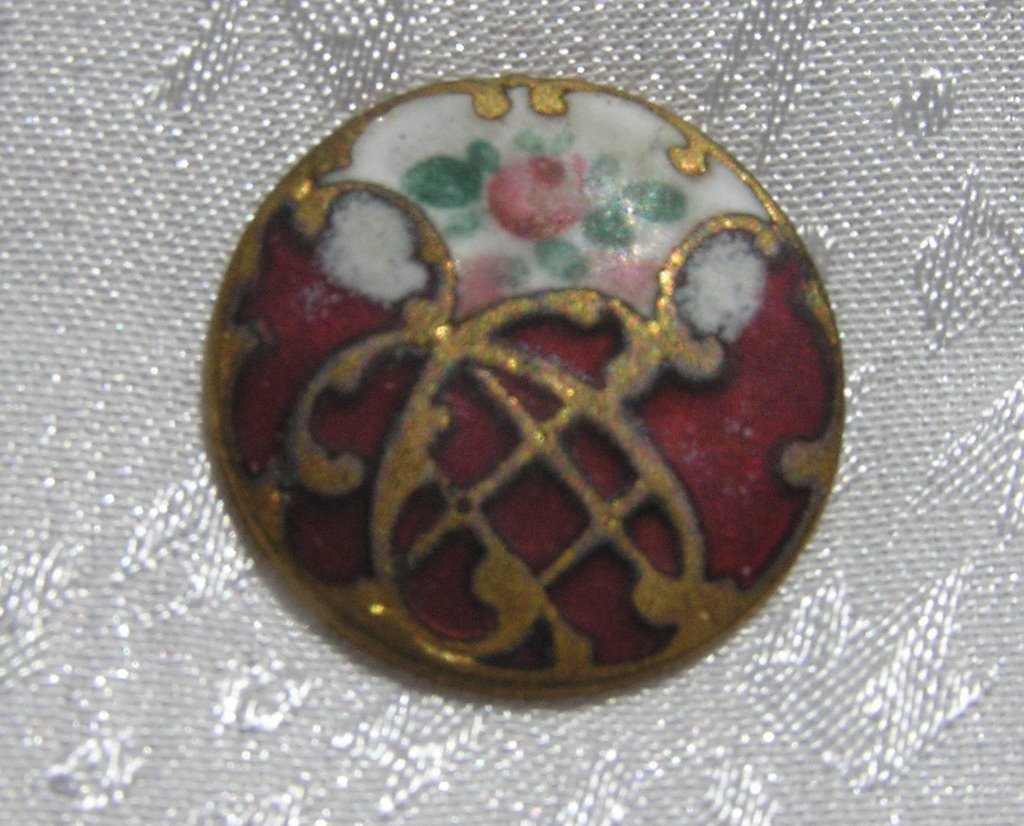
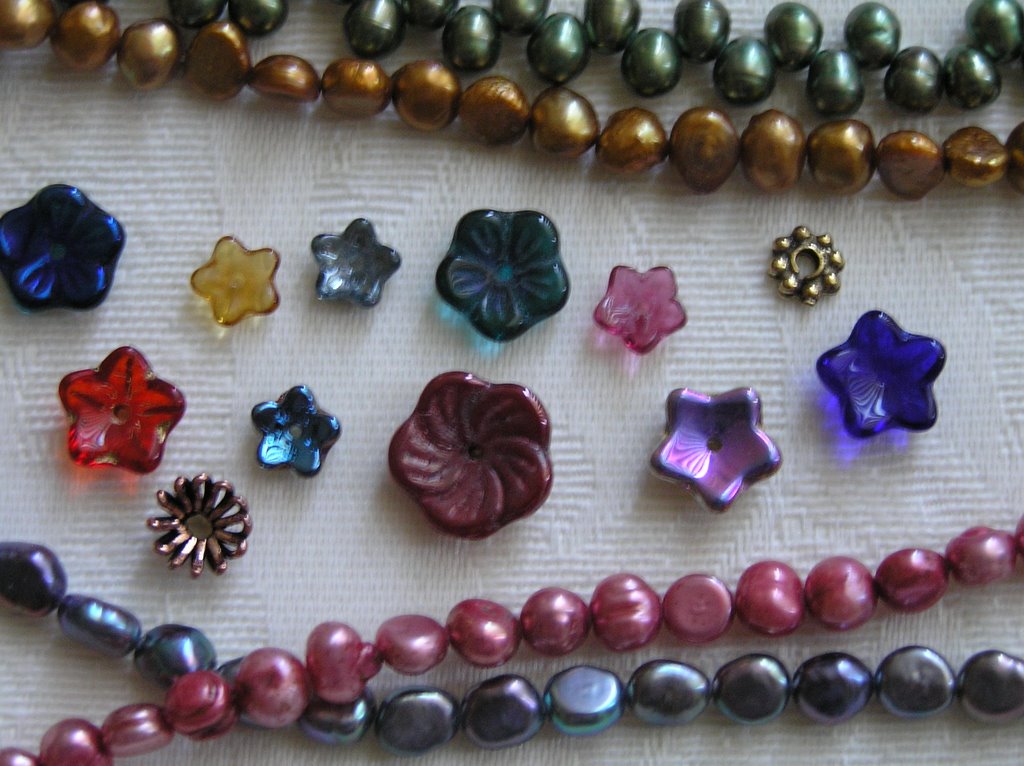
buttons, beads, rosebuds or other decorations

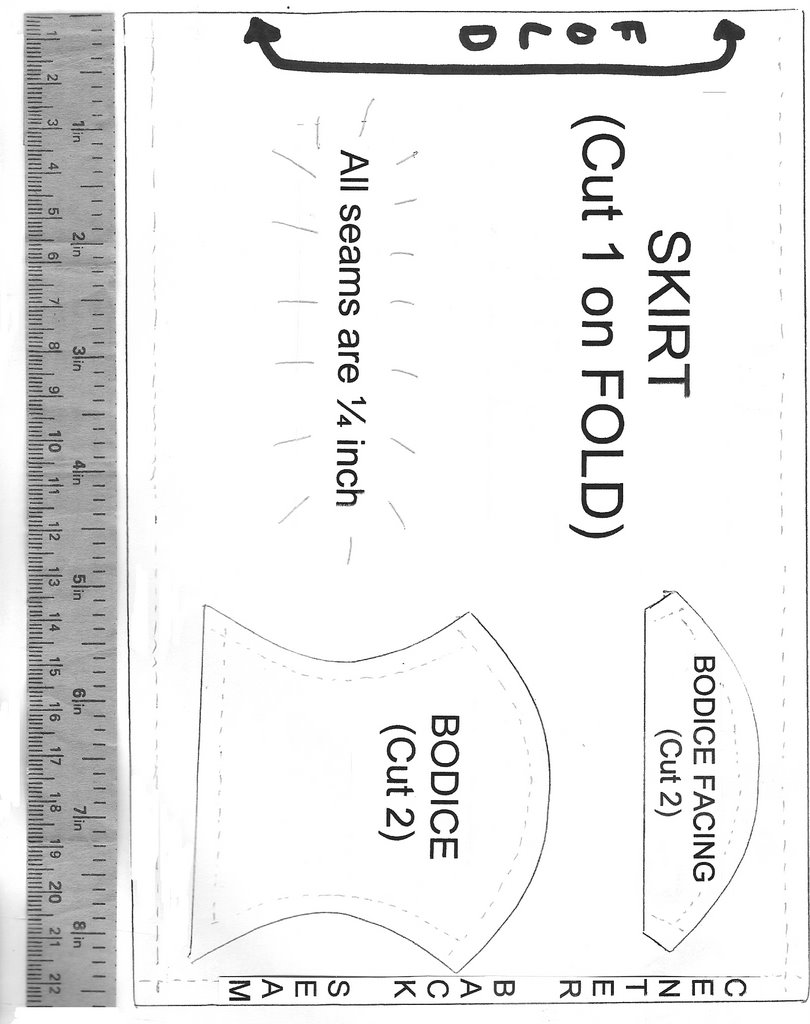
Enlarge the pattern (see below)to the correct size (note the tape measure along the bottom of the skirt)
All pattern pieces include a quarter inch seam allowance (the seam allowances are roughly sketched in).
Cut one skirt from fancy fabric on the fold. If desired, cut 1 skirt from lace for an overlay (on the fold).
Cut 2 bodice pieces from fancy fabric. Cut 2 bodice facings from cotton fabric.

Bodice Assembly
Right sides together, pin bodice facing to top edge of bodice. Stitch together using a ¼ inch seam allowance and repeat for other bodice/facing pair.
Trim this seam to 1/8 inch. Turn right side out and press.
Place right sides of two bodices together and pin side seams. Stitch each side seams using a ¼ inch seam allowance. Clip curves; turn right side out and press. If your fabric ravels easily, zigzag bottom edge of bodice.

Skirt Assembly
Press under ¼ inch on one long edge of skirt for hem. Turn under again, press and stitch hem by machine. This stitching will be covered either by your trim or by your lace overlay.

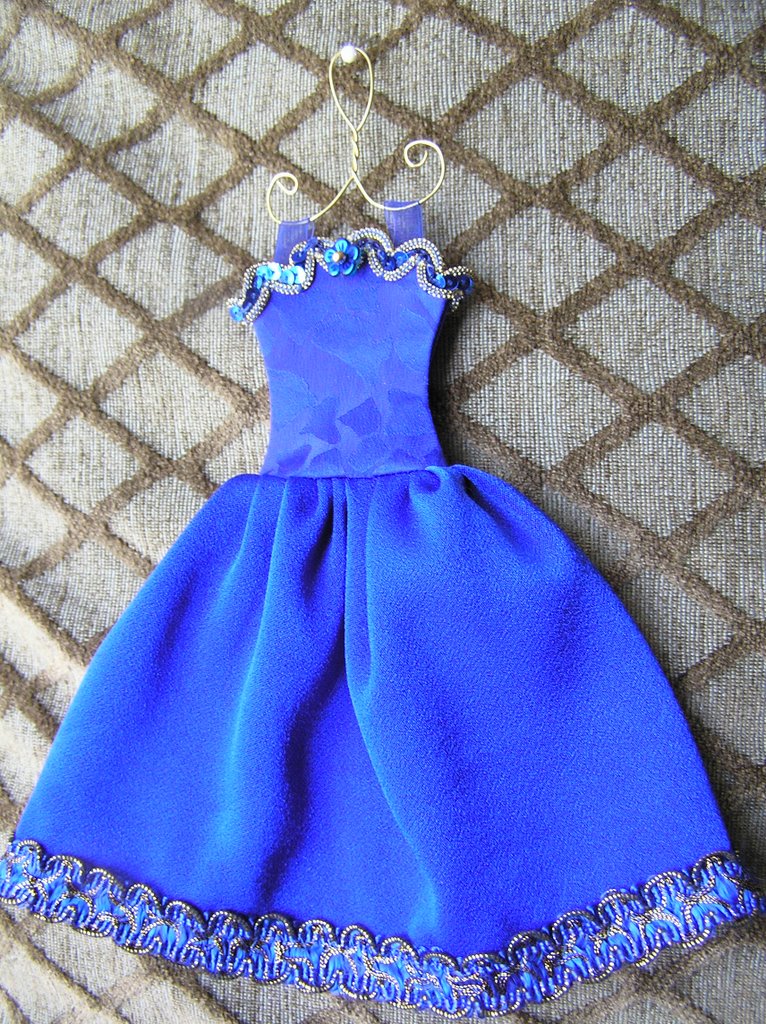
Without a lace (skirt) overlay:
At this point, you need to decide if you will stitch your skirt trim into the seam allowance or if you will overlap the trim after the skirt's center back seam is sewn.
-If you are using a thick trim, attach trim to hem leaving trim un-attached an inch from the skirt's center back seam. Stitch center back seam in skirt; press seam open. Overlap the trim over this seam and secure to skirt by hand or machine.
-If you are using lace trim, or a thin trim, stitch the lace or trim along the bottom edge of the skirt. Then stitch the center back seam in the skirt (using ¼ inch seam allowance) and press the seam open.

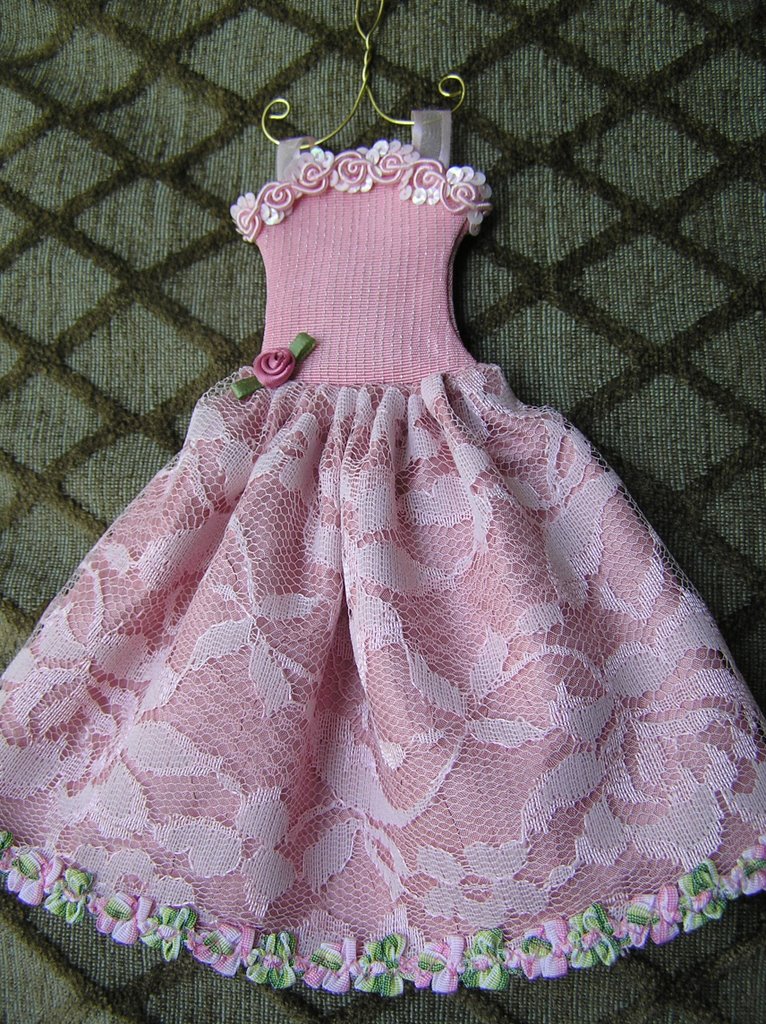
With a lace (skirt) overlay:
Press under ¼ inch on one long edge of lace overlay for hem. If lace tends to ravel, turn under again and press. Stitch hem by machine. Typically a light trim is used on the lace overlay, one that can be stitched into the overlay's seam allowance. Stitch the trim along the bottom edge of the lace overlay.
Lay the skirt right side up on a flat surface. Place the overlay on top of it, right side up. Pin the bottom edge of the lace overlay to the bottom edge of your skirt, to keep them aligned as desired. If the top edges are uneven, trim them to match. Baste lace overlay to skirt along top edge. Pin the center back seam of the skirt, so all four layers of fabric are secure. Stitch the center back seam in the skirt (using ¼ inch seam allowance) and press the seam open.


Stitching Bodice to Skirt
Using pins or a disappearing marker, mark the center front and two sides of the skirt. Gather the top edge of the skirt by hand or machine. Right sides together, pin the gathered edge of the skirt to the bodice, centering the skirt back seam on one of the bodice pieces, centering the skirt front on the other bodice piece and matching the skirt sides to the bodice side seams. This is a tough seam to stitch, because it is so small. I typically began my stitching where there was the least amount of bulk, often stitching only 5 or 6 stitches at a time, stopping and bringing more fabric around the machine to the front.
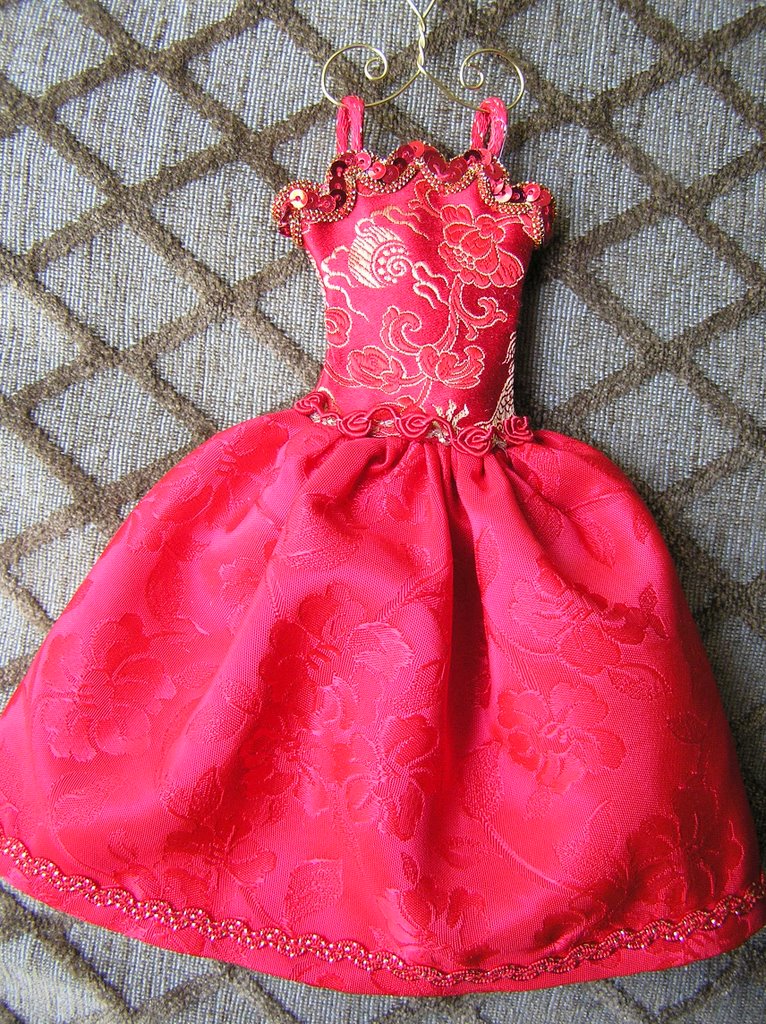
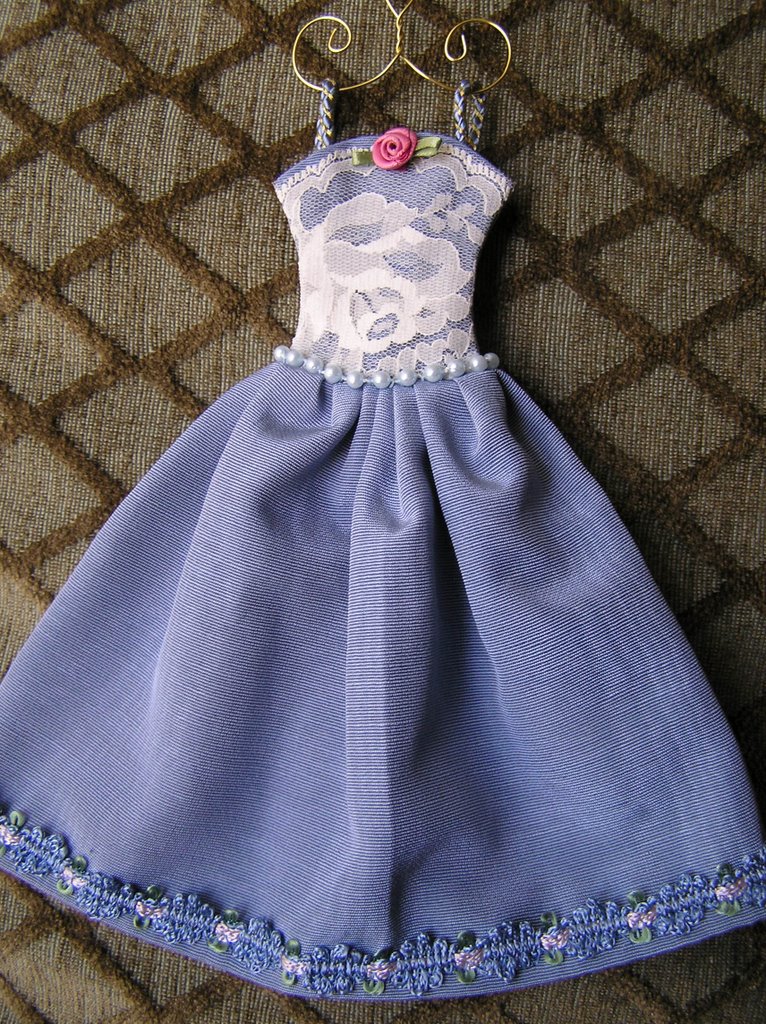
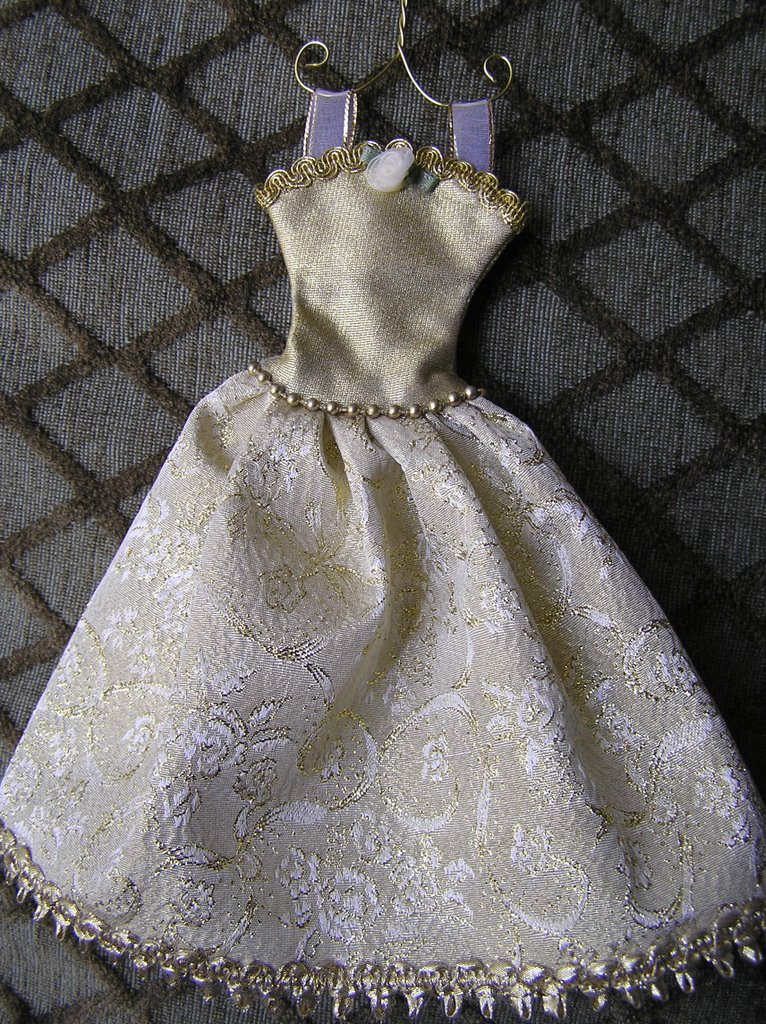
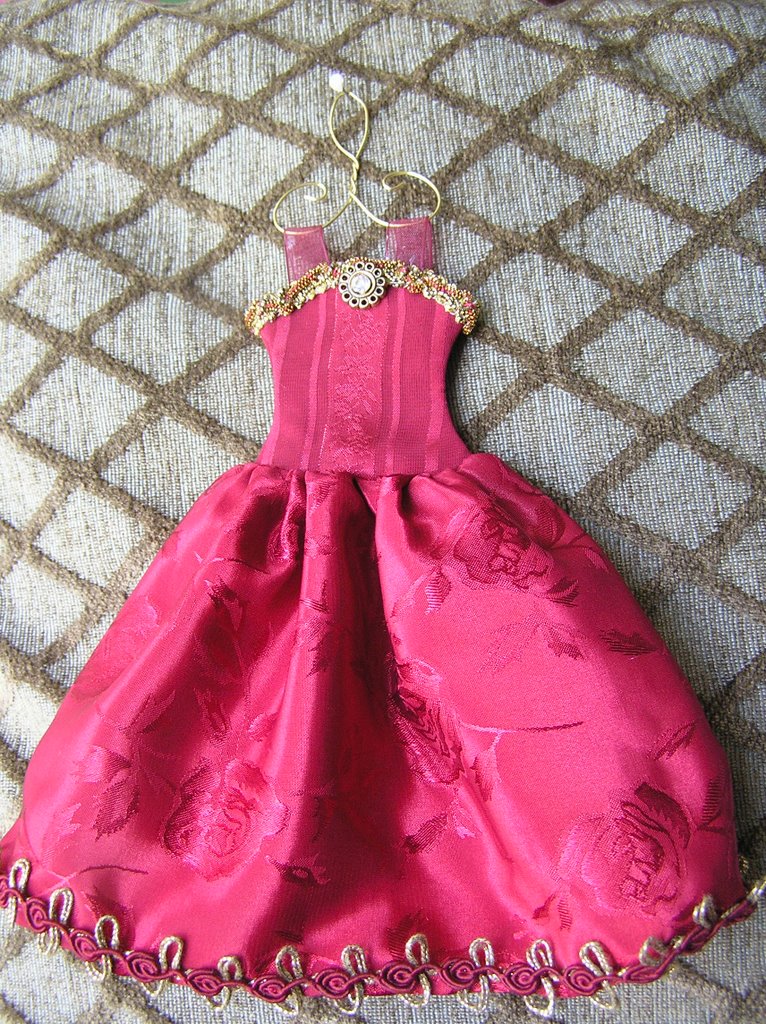
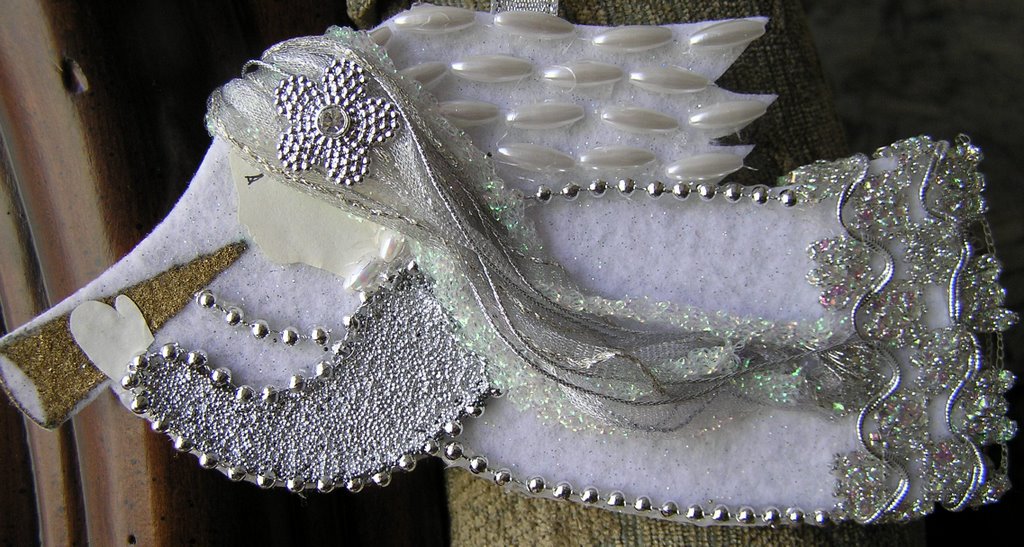
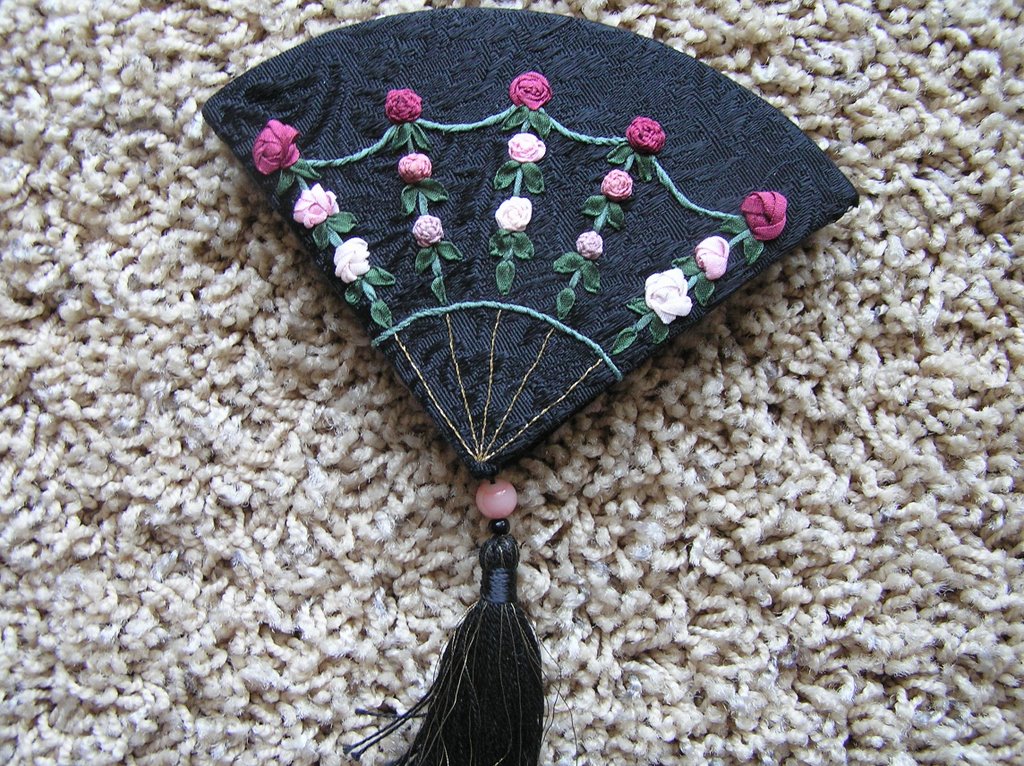
Decoration & straps
Now comes the fun part. Trim can be hand-stitched around the waist or along the top edge of the bodice, or both. I sometimes added a flower button, ribbon rose or bead near the waist or at the center top of the bodice. I like to use organdy ribbon for the straps, but any type of narrow ribbon works fine. Cut two lengths of ribbon for the straps, each about 2 inches long. Eyeball their position so they are even and tack or glue them to the inside top of the bodice front and back. Once the straps are secure, I closed up the top bodice area - I have to admit, I used glue here. The type of hanger I made slips easily into the straps for hanging. If you wanted to get fancier, you could place beads on the wire before bending it into a hanger shape. Enjoy!

P.S. One of Susan’s friends suggested putting potpourri into the skirt and sewing it closed to make a dress sachet – this is a great idea.


Monday, December 25, 2006

A Creative Daughter

This was presented to me by my just-turned-14 year old daughter for Christmas. She carved it out of wood, painted it and decorated it with pipe cleaners. I was blown away by her creativity, her planning, her painting and just loooove those whiskers. Just had to share it....

Tuesday, December 19, 2006

Christmas Party

Pictured is one of my little Christmas vignettes that I like to put together. We make an ornament wreath like this every year for the church Boutique as one of our opportunity drawing prizes. (It's missing one ball on the right - it fell off in transit.) The JOY boxes were a project featured on Carol Duvall awhile back.

Well the dust has cleared and the party is over and it was great fun! We had lots of good food, good talk, loud laughter and a great time. A few people cancelled out at the last minute, but that was OK as it was just smaller and more intimate. We did an ornament swap where everyone brings a wrapped ornament and picks a number. When it's your turn, you can either steal an ornament from someone who's gone before you, or open a new one. Stealing frequently starts a domino effect and it can get downright hilarious. One of the guests, our pastor's wife, was too shy the first two years she came to ever steal from someone else. But we taught her well and now she has no qualms about stealing - even from the hostess! (much to my chagrin) There was general outrage when we discovered that 3 of the people who came were going home with the very ornaments that they brought! There were many beautiful, glamourous, cute and sparkly ornaments. The last one to be opened was a sock monkey ornament, which caused a big stir. Since all the trading and stealing was done, there was some last-minute desperate bargaining to get the sock monkey!

The real funny thing is, we all know it's not about the ornaments, but we act like it is for an hour or so and get pretty goofy. Well the last guest left at 3 am, so it's taken me a few days to catch up on sleep and wash those wine glasses.

Everyone loved their dress ornaments - my neighbor asked "Did you REALLY make these?". I'd like to post directions and the pattern for those, but am not sure how to post the pattern so it's actual size or so I can give exact enlargement directions. I suppose I could post the pattern with measurements along-side... Anyone have any clues for me on this?

Happy Stitching....

Monday, December 11, 2006

One Size Fits All


I have been busy making my dress ornaments and having fun with sequins, trim, buttons, lace and ribbon. The cool thing is I have some trims I didn't realize I have that would be just perfect for Crazy Quilting! Here are some of my "dresses" - I wish they all fit!

Monday, December 04, 2006

Christmas Invitations


Here are a few more samples of some Christmas invitations I have made.

This one has a tricky background - I laid lace on top of a rectangle of that super-sticky tape. Then I sprinkled on the gold glitter, the lace acting as a stencil. Then I removed the lace, which left all the flowers blank. Pour on the red glitter and presto! your lace pattern is reproduced in glitter! I really like texture, so for the holly leaves I used three different materials.
For the blue invitation, I cut a triangle of cardboard for the tree and then wrapped it with a chenille yarn that has silver in it. The star is made of glass and I used a silver metallic pen around the edges of it. The curve at the bottom let me experiement with a "glue pen". You just draw what you want and then add glitter - it works very well.

Sunday, December 03, 2006

Etsy Plug

Another Oriental Button to share....

I was listening to National Public Radio this morning and they were interviewing a woman who has a blog directing people to different websites for unusual gifts. They asked her for an example and she talked a little about Etsy. So maybe those of you with Etsy sites will see a little more activity come your way.

Christmas Decorations


Here's a picture of an angel ornament I made for our church boutique. If I hadn't had to make twelve of them, I would have stitched on the beads, but in this picture the beads are glued on.


Also, here's a tree I made last year as a Christmas decoration. Can you tell purple is my favorite color?

Saturday, December 02, 2006

Handmade Christmas Cards

There's been some talk of the fun of making your own holiday cards. Here are two pix of some invitations/Christmas Cards I have made.

For the first one, I used handmade paper, stamped the reindeer and snowflakes and embossed them. I used gold metallic luster rub-on to color in the reindeer. There's snowy glitter on the edges of the green trees and gold mini-glitter all over the card, but it doesn't show up well in the picture. The red tree was bought from a rubber stamp store and stands up a little from the green ones.


(I seem to like blue.) For this one, I did direct-to-paper around the edges of a cream-colored card, then added the dark blue cardstock on top. I used an Anna Griffin stamp in light blue ink for the all-over pattern behind the angel. The angel is stamped and embossed, then colored in using silver metallic luster rub-on. I gave each corner a little silver corner. The "O" in JOY (also Anna Griffin letters) in this one is not stamped very well, since this was the one I kept, it wasn't good enough to send out.


Tuesday, November 28, 2006

About Creativity

SharonB has made some very interesting comments about nurturing creativity on her blog.

I have a few thoughts. Although I don't keep a visual journal, I do save snippets of things or ideas I see. I always keep a spiral notebook around to write down steps to make a project or sketch an idea of something I see on TV, like on a quilting or craft show. I have several of these notebooks full of instructions and sketches. Before I had a digital camera, I would scan a color copy of everything I made, especially if it was a gift and wasn't going to be around for me to examine later.

I also tear pictures out of catalogs, magazines, etc. and mount them in a large spiral sketchbook. I have put so many of these pictures in a book, that I went back, numbered the pages, and created a table of contents for it. So then I know on what pages I will find ideas for fans, peacocks, kimonos, etc. The pictures in this spiral sketchbook can be a source of inspiration for me when I don't know what to do with myself. It's like a mini-trip to a museum, a jewelry store, or a textile show. Since these were things that inspired me at one time, they can still inspire me 5 years later, just like Sharon mentioned.

I do marvel at the organization of some of you ladies' work rooms. Although the materials I use are organized, I can never keep the horizontal surfaces clear. I have a long table to use to work on, but frequently end up laying things out on the ironing board or the floor because things with no home pile up on these "work surfaces". It may be because that's the room that hides the Christmas presents, holds all the things I made for the boutique, etc. but once those are over with, I have no excuse....

Happy Stitching....

Monday, November 27, 2006

Alive but not CQing

Hi there all. I haven't been CQ stitching for awhile - I've been making Christmas party invitations - and can you believe it, they have embroidery on them? Never again, stitching the same thing over and over gets old! Anyway, I thought I'd share this button. I came across a card full of Asian buttons that I put together some time ago. This is one of them - it is made of clay, I think. I need to see things like this to keep up my enthusiasm for finishing my CQ kimono - although I think that won't happen until after Christmas.

Has anyone ordered Carol Samples templates lately? I've asked for them for Christmas, but there hasn't been any response to my DH's emails asking about ordering them.

One of the things I do at my Christmas party is give out something handmade to everyone - a bracelet, an ornament, etc. It's the adult version of a goody-bag. So now that I'm finished with the invites, I need to start on the ornaments. I plan to make a dress on a hanger - about the size of a Barbie dress. I want to make them in all different colors and take advantage of scraps of fancy fabrics I have. That should be fun.
Hope you all are happy stitchin....

Thursday, November 16, 2006

SRE Nametag


Here is a picture of a nametag I made. This was my first foray into SRE, so I wanted to try lots of different effects. It was really fun to do and I think I invented a few flowers along the way!

It seems I've been busy with blogging, etc. and have sort of forgotten all about my Flickr account for a few months. I apologize to anyone who left me questions that I only recently answered. There's just too much to do and see and not enough time!

One thing I've noticed about blogging, is that seeing all the creative things people are doing is constantly satisfying my never-ending search for pictures of beautiful stitchery. I used to always be looking for books, hoping to find something with good pictures of creative stitchery that wasn't beginner-level and satisfied my need for eye candy. So I just want to thank you all out there for posting pix of your wonderful stitchery, (especially those pix that I can zoom in on, since my eyes are getting old - sigh) I think it is so great that we can share these images.
Happy Stitching.....

Wednesday, November 15, 2006

How to make the hat ornament

Here are directions on making the hat ornament pictured in my previous post:

Materials:
Strong Cardboard for Brim
Fabric to cover crown and brim**
Felt for back of ornament
2 1/2 inch styrafoam ball
7-8" ribbon for hanging
~8" braid or trim to go around the crown
~14" trim to go around the brim
seed beads
wire
decorative button
bias cut ribbon for bow

**You want to choose fabric that is not too too thin, or the texture of the styrafoam will show through it. But not too thick either, since it has to be gathered up tightly. I used silk.

For the Crown of the hat:
Cut the styrafoam ball in half. (A serrated edge works best for this)
Cut your fabric into a 5 1/4" circle (to cover the styrafoam).
Take a gathering stitch around this circle, about a quarter of an inch from the edge.
Place the half-ball inside it and gather up the circle. You will have to adjust the gathers to minimize folds in the fabric near the cut edge of the ball. I then take stitches back and forth across the back of the ball to make the fabric nice and taut (see pic below). This is key to getting a good final project.


You can see I've gathered the fabric and have started going around the circle and catching those areas that need a little tightening. I do this same thing on the circle that's gathered around the cardboard brim, in the directions below.


For the Brim of the hat:

Cut your cardboard into a 4 1/2" circle.
Cut your fabric into a 6 3/4" circle (to cover the cardboard).
Take a gathering stitch around this circle, about a quarter of an inch from the edge.
Place the cardboard circle inside it and gather up the circle. You will have to adjust the gathers to minimize folds in the fabric near the edge of the circle. I then take stitches back and forth across the back of the cardboard to make the fabric nice and taut. This makes the hat look very good when done.

Assembly:
Glue the covered half-ball onto the covered circle. (I used a glue gun)
Glue or stitch trim around the edge of the brim.
Glue braid around the edge of the crown - you need to use braid wide enough to hide the gap between the brim and the crown where the two meet.
I made 2 loops of beads on wire, like a bow.
Glue on feathers, beaded loops, bias ribbon and button.
Cut the felt into a 4 1/8" circle.
Sandwich the hanging ribbon between the back of the brim and the felt circle and glue.
You are done with your gorgeous hat!
Enjoy....

P.S. I made about a dozen of these, so I made cardboard templates for all the circles I needed.

Tuesday, November 14, 2006

Inspired by Christmas - Ornaments


Well, the Boutique's over, the company's gone, the Birthday celebration is over - in short, my weekend from H - E - double hockey-sticks is over with. Phew! It wasn't all bad - there were certainly fun parts to working with friends, talking with company, enjoying birthdays..... There was just not enough sleep and NO time to stitch.

I thought I'd share a few of the type of ornaments I make that we sell at our annual Boutique. All the monies from the Boutique go to local charities chosen by the women in my church, so it is a worthwhile cause.


This is a felt shoe made from a pattern in a Martha Stewart Christmas book. In the book, she uses punches to punch a lacy design along the top of the shoe. I don't know how she got all those fancy holes - maybe she punched through paper along with the felt? Anyway, I chose to finish the top edge using some organdy ribbon and a ribbon rose at the top on the inside.


This is probably the fastest and simplest ornament. Some of them have to be "simplified" so that non-crafters at workshops can help with the easy parts, like cutting out all the pieces.


I had fun making these purse ornaments - choosing the beads, the button and the trim for the top.

Tuesday, November 07, 2006

SRE Angel ornament

Here is an angel ornament I embroidered with SRE. I am still busy with the boutique (this weekend it will be overwith - yay), birthdays and company coming. I know this isn't CQ, but if anyone else has some handmade Christmas ornaments they can point me to, I'd appreciate it.

Happy Stitching.....


Friday, November 03, 2006

CQ Seam

Here's another CQ seam on my kimono. Kind of a mutated feather stitch. I did a feather stitch to one side of the lower fabric, then thought it looked odd, so added another set of "V" shapes to the lower side, which ends up giving you these diamond shapes in the center....

Just a few more seams to go and then I will be finishing up this project. I will have to go back and add some beads after I seam it together - I left some beads off that might fall into the seamline.

Happy Stitching.....

Monday, October 30, 2006

Another Enamel Button


Here is another button for you to enjoy. I don't know when I will be able to get back to stitching CQ - things are so busy. Our church boutique is Nov 11, my daughter's birthday is the 12th, I have company coming and staying for several days on the 9th, and I can't wait to get a needle in my hand instead of a glue gun. I don't mind making things that come out really nicely, but now I am working on some cutsie-pie snowmen....and I'm not really a cutesie-pie person. I'd much rather make something victorian or sophisticated or just beautiful.

Saturday, October 28, 2006

UFO CQ Seam

Here's a seam treatment from a UFO I found in my sewing room. I don't know how I got my stitches so even. The basting stitches indicate this was supposed to be a purse, but I don't remember a thing about it. I like the combination of blues, turquoise and purple (my favorite color too, Pat W.) but can't figure out why I added in a maroon. Do you ever find UFOs and you don't even like the colors or style you chose? Maybe that's why it's a UFO. Sometimes I find something I made 10 years ago and think "how did I do that? - I couldn't do that today" - almost as if someone snuck into my room and hid their UFOs. That's it, there are evil (or creative) ufo elves, sneaking up on us.

not really paranoid in LA,
LinMoon

Tuesday, October 24, 2006

Victorian Boot

This is a companion piece to the fan pincushion. This is a needlecase, with wool felt "pages" inside to hold needles. The victorian boot is also a good motif for a crazy quilt.

If you look closely, you might see that these silk ribbon roses "stand up tall". That is because they are Beaded Spiderweb Roses. When you stitch the spiderweb foundation, you do so over a Mill Hill Pebble bead. A pebble bead is a little bigger than an E bead and has a nice big hole in the center so you can fit a large chenille needle thru it when you get to the silk ribbon portion of the rose. I like the effect.

Fan Pincushion

This is an old-fashioned pincushion I made with silk ribbon embroidery. It's old-fashioned because it's made to have the pins stuck into the top curved edge. It's made with several pieces of felt sandwiched between 2 fabric-covered cardboards.

This could easily translate into a motif used in a crazy quilt. Some motifs are appliqued onto the CQ, then embroidered. Whenever I do this, I sew the desired shape right sides together to a piece of non-woven interfacing. I sew around all the edges, not leaving any opening for turning. I then slit the back of the interfacing, turn the motif right side out and press. This way you get a good shape, without the usual bulge where the opening for turning was located. If you want to get really clever, you can stitch your motif to fusible interfacing (right side of motif to non-fusible side of interfacing). Then after you slit and turn the motif, you can place it on the CQ and iron it on. But you have to use a special non-stick sheet on your ironing board, or when you are pressing it into shape, you'll iron it onto your ironing board!

Monday, October 23, 2006

CQ Kimono seams


I've been working a few more seams on my CQ kimono. As it gets closer to being completed, the seams to embellish are very short. So my embellishments are nothing to write home about - not enough room to go hog wild. I'm looking forward to the next project where I will have more room to embellish.


Thursday, October 19, 2006

More Beaded Cameos

Here are a few more beaded cameos I have made. The flower cameo I found in downtown LA in the bead district. It was the only one or two left and was discolored because it was so old. I had to soak it in oxy and scrub the big rose with a toothbrush to get it clean. It is sort of an odd blue to try to match with beads. I usually try to place the flower spray farthest from what I would consider the most interesting part of the cameo. That's why the flower cameo ended up with its flower spray on the bottom, instead of off to the side.


I neglected to answer the question before (sorry about that) asking me where where I get my suede or ultrasuede. One of the best purchases I ever made was at a thrift shop. I bought a white leather skirt, which was discolored on the front in a few spots. But the back of it was fine. I have cut that thing up so many times. Especially when I needed a weird color, I would just color it with a sharpie- just for small projects like this.

Tuesday, October 17, 2006

I'm back with another CQ seam

Here is the latest seam on my CQ kimono. The fabric on the top was my mom's - it's a chirimen(sp?) silk - just lovely; I only have a few scraps of it left.
Well, I was gone to my niece's wedding in South Carolina - where Southern Hospitality is alive and well. Everyone there was so nice - our family made up about 5% of all the people at the rehearsal dinner and wedding reception, so we were always sitting with people we didn't know (my brother and I). I hate those times when you sit at a table with strangers who aren't the least bit interested in talking to others. But this wasn't like that at all and it was loads of fun. Hope you've been happily stitching away....

Wednesday, October 11, 2006

Away Message

Just a short note to say that I will not have access to a computer for the next few days. Will be back online around the 16th or 17th.

Happy Stitching!

Tuesday, October 10, 2006

More CQ seams

Well here's another seam I have been working on. I don't know why I keep ending up with red and green - this is a kimono, not a Christmas stocking! Oh, well, it was fun...

I just have 3 or four more seams to go until I can sew it together and it will be done! Yay! But then what will I work on? I have way too many ideas floating around in my head....

Saturday, October 07, 2006

A few more buttons


Here is another button picture, along with another way to display buttons. Since I have so many buttons (I used to collect them) and they used to just sit in a box in the closet, I wanted them out where I could see them. I used a shadowbox frame - it's about an inch and a half deep. The buttons are mounted on cardboard, which is covered with batting, then fabric. I stitch back and forth thru the fabric edges on the back to make it nice and tight all around. I use an awl to punch a hole thru the fabric, batting and cardboard, insert the button shank, then wrap a pipe cleaner or telephone wire thru the shank, spreading out the ends to secure the button in its place.

Beaded Cameo Pin Tutorial


Here are the instructions on how I made my beaded cameo pin. The nice thing about this is that you can make a pin, or you can do the same thing to a button, cabochon, etc. and use it on your crazy quilt. If you make it a pin, you can pin it onto a CQ pillow, pincushion or quilt, give it as a gift or keep it and then pin it onto yourself when you want to wear it. Keep in mind, this is how I made the pin that's pictured - you can have fewer or more rows of beads around the cameo or a different decorative edging around the outside. Sometimes I do beads to match the cabochon for the first 2 rows and then white/cream beads for the lacy decorative edging.


Materials:

Cameo
Felt (about half an inch larger than your cameo, all around)
One inch pin-back
Suede, ultra suede or leather (slightly larger than your felt piece)
E6000 jewelry glue
Seed beads
Flower, leaf and other assorted beads for embellishment

Directions:

Glue the cameo onto a piece of felt, using E6000 jewelry glue. This glue allows the felt to remain flexible, so you can still stitch through it, if need be. I usually choose a color of felt that will match the two rows of beads closest to the cameo, in case there are any small gaps between beads. Wait one to two hours for the glue to dry.

Stitch 2 rows of beads around the cameo, into the felt. I start by stitching down 2 beads in a row, come back up thru the 1st and 2nd, add 2 beads and continue around. When trying to snug beads up against the curve of the cameo, it is better to have one too few than one too many beads. Trim the felt very close to the second row of beads, being careful not to cut any beading threads.

Next, you will glue this onto a piece of suede, ultra-suede or leather (but read on first). I choose a color of suede that will match my beading thread for the beaded border (because this will show on the back). Open up the pin-back. Lay it on your suede and mark just inside the two ends.

Cut 2 vertical slits in the suede about an inch apart so that the pin-back can be glued between the felt and suede and still be functional. I use a one-inch pin-back and position it about a third of the way down from the top of the pin. You can see my slits (especially that huge one on the right side in the picture below) Glue the felt, pin-back and suede together.


Once this glue is dry, stitch a row of beads into the suede, going around your other rows so that you form a third row. This row is the foundation row for the decorative border stitching. Carefully trim the suede very close to your third row of beads.

For my decorative border, I would go thru a bead in the third row, pick up four seed beads, go back thru the third seed bead, add two more seed beads, skip the next three beads in the third row, and go thru the next bead in the third row, over and over again. (See picture below) That fourth seed bead is the "point" that sticks out at every inverted "V". Once this decorative row is done, you can choose an area to add a bunch of flowers and leaves and dangles. This part is really fun.

For this picture, I used giant E beads, so the stitching for the decorative edging would be easier to see. So the effect is not as good as with seed beads, but you can see the details better. The turquoise beads represent your third row.


Have fun with this!

Thursday, October 05, 2006

Another Fans seam

Here is another seam of fans on my CQ kimono. This time I made them bigger and don't quite like the effect as much as before. It's amazing how you can stitch the same seam you did before and even use the same type of threads, but the stitches can streeeetch or shrink and you hardly notice it until you look at it later.

The lower fabric is very busy, so it was hard to figure out what would show up on it. It is a beautiful paisley, though, and belonged to my mother, so there is no way I would not include it. Happy stitching, everyone!

Tuesday, October 03, 2006

Beaded Cameo Pin & Simply Quilts


This would make a good gift for a friend or relative - it's a beaded cameo pin. I have made several of these in different color combinations - they are really fun; a great way to use small flower and leaf beads. Also, you can use seed beads that you don't have lots and lots of exactly matching colors.

This morning I was watching Simply Quilts. I know they are all reruns now, but I hadn't seen this one before. It was all about crazy quilts and featured the work of Judith Montano. She described CQ as the most painterly of all quilting methods. Betty Pillsbury was also on the show; she demonstrated how to piece CQ and how to do the feather stitch. She had done it in many different threads and in many different "variations" - they all looked so different you might not ever have identified them as feather stitches. It was a nice change from sane quilting.

Monday, October 02, 2006

Back to CQ!


Well, I'm back from the land of baby showers and hoping to get back into stitching on my CQ kimono. I haven't had time to read any blogs lately, but am wondering if everyone else feels the lack of the 100 Details like I do. I went to work on a seam, but there's no checking on what Sharon has showcased and it seems Allie has stopped stitching along also. Hmmm, it's a different feeling to be on my own again.....I'll just have to check out what everyone else is doing! (Now that school has started again, it's a little harder to wrestle the computer away from my girls.)

Well here's my latest seam - I don't want it to stand out too much - it's near a sleeve seam that needs to be more prominent.

Wednesday, September 27, 2006

Musings & SRE


Well, I haven't been doing much stitching this week; I'm busy getting ready to give a baby shower. It's funny how you look around your house with different eyes when a bunch of people are coming over. It's like, gee, how long has that chair seat been ripped (I have cats) and how long has that pile of books been sitting here in the kitchen (I have kids) and how many sudoku puzzles are laying around (I have husband) and how did my sewing room get to be such a mess (I'm creative? ha ha)

So, since I have no new seam treatments to share, I thought I'd share this small embroidery I did with dyed silk ribbons. I dyed the ribbons myself, just painting the dye along one edge of the ribbon. It looks very wedding-ish to me. Hope you all are stitching more than I am!

Saturday, September 23, 2006

Santa Monica Bead Show


Today I went to the International Gem & Jewelry Show in Santa Monica, CA. The show was HUGE! The Civic Center wasn't big enough to hold all the vendors, so there were giant tents stretched out in all directions. It was really hard to make sure you saw the whole thing. But I was on a short time schedule and really just looking for one thing: flower beads for CQ. I went to my favorite booth, Kahn-Fagan (NAYY); they sent me a free coupon to get in and I parked for free (instead of the $8 the city of Santa Monica wants you to pay - outrageous!), so as to follow that cardinal rule: money saved must be spent on beads(or threads or fabric or....) . I can just imagine the Stash Police catching me there, "Ma'am, reports from your husband indicate that your bead stash is quite sufficient. Put your hands up and STEP AWAY FROM THE BEADS. I repeat, Step away from the beads...". Well, when I get tired I get a bit loopy....

Anyway, I did find some pearls in surprising colors to use in seam embellishments and also lots of flower beads. Certain areas were mostly dominated by jewelry booths and others by bead merchants. Sometimes I needed sunglasses to ward off the intense sparkle from the rows and rows of Swarovskis! Even though it was short, it was fun and exciting!

Friday, September 22, 2006

Day 89

Here is my version of Sharon B's Day 89. When I saw Sharon feature this one, I just loved it! This is a horizontal seam near the sleeve that I don't really want to emphasize, so my embellishment is all in the same color as the fabric beneath it. I added in the green bugles to try to make the gold and blue flow together a little better, but I'm not sure I've accomplished that.


Here is another picture showing more context.